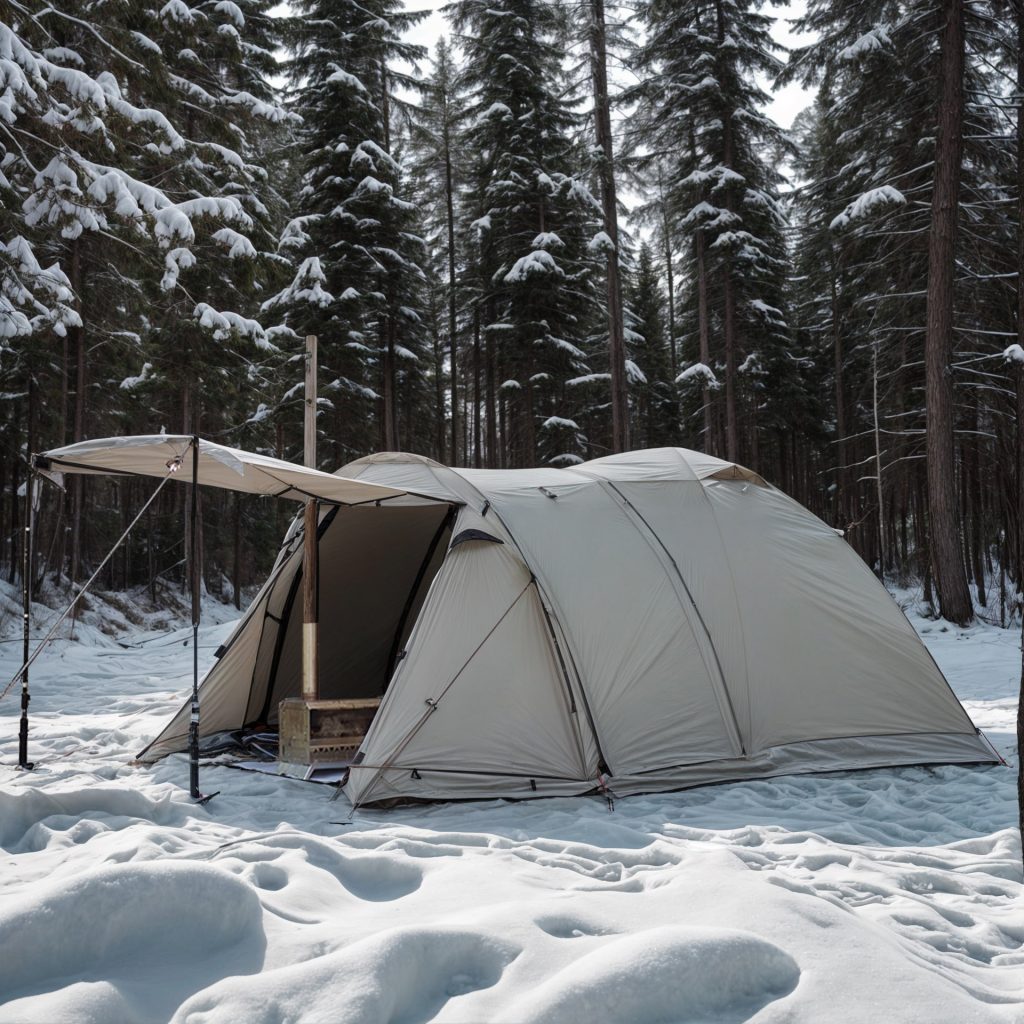
How to Set Up a Tent Like a Pro: Tent Setup Tips for Beginners in NZ & AU
Setting up a tent might seem tricky for beginners, but with the right guidance and a little practice, you’ll be pitching your tent like a seasoned pro in no time! Whether you’re camping in the lush forests of New Zealand or the rugged landscapes of Australia, knowing how to set up your tent correctly is essential for a comfortable and enjoyable outdoor experience. Here are some tent setup tips to help you get it right every time.
1. Choose the Right Spot
Before you even take your tent out of the bag, it’s important to pick a good campsite. The right location will ensure you stay safe, dry, and comfortable.
Tent Setup Tips for choosing a great spot:
- Flat Ground: Look for a flat, level area to pitch your tent. This makes sleeping inside much more comfortable and helps avoid rainwater pooling in your tent.
- Avoid Low Areas: Stay away from valleys or depressions where water could collect if it rains. You don’t want to wake up in a puddle!
- Shade or Shelter: In hot weather, look for shade to protect yourself from the sun. But make sure you’re not directly under trees with overhanging branches that could drop debris or rainwater onto your tent.
- Clear of Rocks and Sticks: Remove any sharp objects, like rocks or sticks, from the area where you plan to set up. This prevents damage to the tent floor.
2. Unpack and Lay Out the Tent
Now that you’ve chosen the perfect spot, it’s time to unpack your tent.
Tent Setup Tips for laying it out:
- Spread out your tent body flat on the ground, making sure all parts are accessible and easy to reach. Lay out the rainfly nearby, as you’ll need it soon.
3. Assemble the Poles
Most modern tents have color-coded poles and sleeves or clips to make assembly easier.
Tent Setup Tips for assembling poles:
- Take your tent poles and lay them out on the ground to make sure you have all the parts.
- Start assembling the poles by connecting the sections. Many poles are connected with elastic cords, making them easy to snap together.
- Once the poles are fully assembled, lay them out on the tent body where they will fit into the sleeves or clips.
4. Insert the Poles Into the Tent
Now comes the fun part—getting your tent upright!
- Tent Setup Tips for inserting the poles: Insert the poles into the sleeves or clips of your tent body. Once the poles are in place, gently bend them into an arch shape to lift the tent off the ground.
- Secure the poles into place, making sure the tent is standing tall and stable.
5. Stake Down the Tent
Once your tent is standing, it’s time to secure it to the ground so it doesn’t blow away.
Tent Setup Tips for staking your tent:
- Take the stakes and drive them into the ground at a 45-degree angle, going through the loops at the base of your tent. This ensures the tent stays taut and stable.
- If the ground is too hard to stake into, use rocks or sandbags to weigh down the corners. Be sure to stake all corners to prevent the tent from shifting.
Pro Tip: If you’re camping in windy conditions, pull the tent fabric tightly before staking to avoid flapping and damage.
6. Attach the Rainfly
The rainfly is the outer layer that protects your tent from rain and keeps the inside dry.
- Tent Setup Tips for attaching the rainfly:
- Drape the rainfly over the tent and secure it tightly, ensuring it covers the entire tent body.
- Attach the rainfly to the poles and fabric using the provided hooks or clips. Make sure it is taut and properly secured to prevent leaks.
7. Final Adjustments
Once your tent is set up, take a step back and do a quick check.
Tent Setup Tips for final adjustments:
- Make sure the tent is taut, with no loose fabric or sagging. A tight tent will be more weather-resistant and durable.
- Open any ventilation flaps or windows to allow air to flow through the tent, which helps reduce condensation inside.
- Check the door and zippers to ensure they work smoothly.
8. Optional: Add a Groundsheet or Footprint
If you want extra protection for your tent’s floor, consider using a groundsheet or footprint.
- A footprint is a layer of fabric that goes under the tent to protect it from dirt, rocks, and moisture. It helps extend the life of your tent by keeping the floor in good condition.
Conclusion
Setting up a tent may feel overwhelming at first, but with practice and these tent setup tips, it’ll become second nature. By following these steps and paying attention to small details like picking the right spot and staking your tent securely, you’ll be able to enjoy your camping trips in New Zealand and Australia without a hitch. With a little patience, you’ll soon be setting up your tent like a pro!
Happy camping!
[/et_pb_text][/et_pb_column][/et_pb_row][/et_pb_section]
